
- understanding-roof-insurance-in-canada
- step-1-assess-the-damage-immediately
- step-2-document-everything-with-proof
- step-3-contact-your-insurance-provider
- step-4-get-a-roof-inspection-from-a-professional
- step-5-file-your-insurance-claim
- real-life-case-ontario-hailstorm-claim-approved
- work-with-pickering-roofing-to-make-it-easy
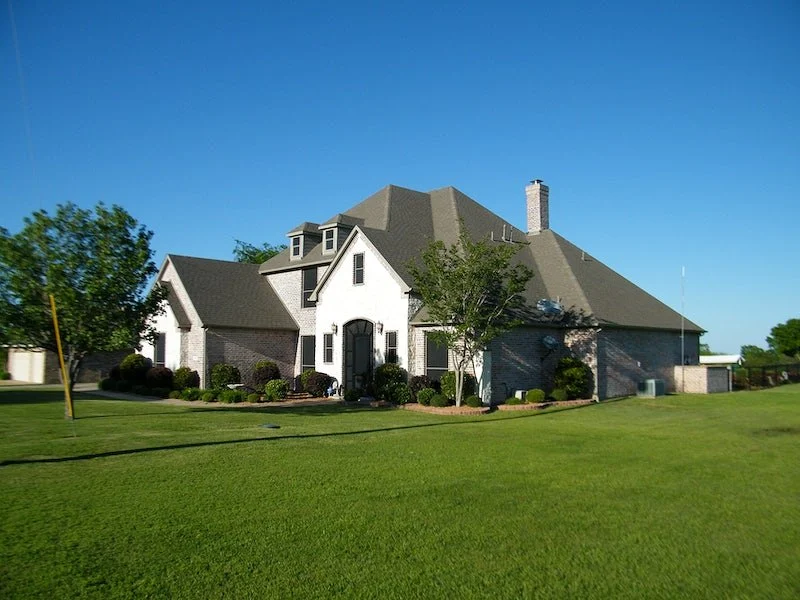
1. Understanding Roof Insurance in Canada
Whether you live in Ontario, Alberta, or British Columbia, Canadian weather can be unpredictable—and rough on your roof. Most homeowner insurance policies include coverage for sudden and accidental damage caused by weather events like hailstorms, heavy snowfall, or fallen trees. However, general wear and tear or poor maintenance is usually not covered. That’s why knowing how to properly file a roofing insurance claim in Canada is essential.
Roof Doctor / roof doctors
KelownaCentral OkanaganBritish Columbia
715 Evans Ct, Kelowna, BC V1X 6G4, Canada
2. Step 1: Assess the Damage Immediately
2.1 Safety First
After a major weather event, prioritize safety. Avoid climbing onto the roof yourself—especially if it’s wet, icy, or structurally compromised. Inspect the area from the ground using binoculars or a drone if possible.
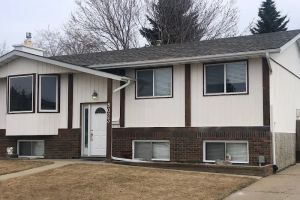
Edmonton Roofing Company / replace roof edmonton
8023 182 St NW, Edmonton, AB T5T 0T6, Canada
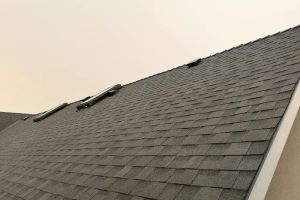
2.2 Signs of Roof Damage
Look for missing shingles, water stains on ceilings, sagging spots, or debris on the roof. These early signs help determine if the damage could qualify for a claim.
3. Step 2: Document Everything with Proof
3.1 Take Clear Photos and Videos
Use your phone or camera to capture the damage in detail. Include both close-ups and wide shots. Document the date and time—this helps establish the storm event as the cause of damage.
3.2 Save Weather Reports
News articles or Environment Canada alerts verifying storm conditions during the damage can strengthen your claim and timeline.
4. Step 3: Contact Your Insurance Provider
4.1 File Early
Contact your insurance company as soon as possible. Many policies require that damage be reported within a specific timeframe (often 30 days).
4.2 Be Clear and Organized
Have your policy number ready, provide a brief summary of the damage, and explain what caused it. Your adjuster will walk you through the next steps and schedule a visit.
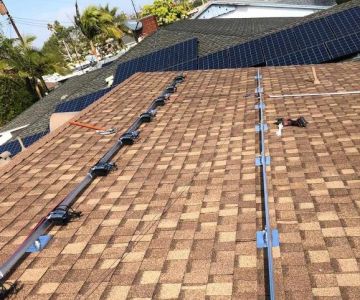
5. Step 4: Get a Roof Inspection from a Professional
5.1 Why a Contractor Assessment Matters
Hiring a trusted roofing contractor—like Pickering Roofing—for a written damage assessment adds weight to your claim. A qualified roofer can identify less visible problems that insurance adjusters may overlook.
5.2 What the Inspection Report Includes
A detailed report usually covers: type of damage, estimated cost of repair or replacement, materials required, and repair urgency.
6. Step 5: File Your Insurance Claim
6.1 Paperwork Preparation
Submit all required documentation, including photos, contractor inspection reports, and the adjuster’s notes. Double-check for accuracy.
6.2 What Happens Next
The insurance company will review your claim, and if approved, will outline your payout. Depending on your policy, you may receive direct reimbursement or payment issued to the contractor.
7. Real-Life Case: Ontario Hailstorm Claim Approved
In 2022, a Markham homeowner experienced extensive hail damage after a June storm. Acting fast, she took over 40 photos and called Pickering Roofing for an emergency inspection. Thanks to the detailed report and proper documentation, her $18,000 claim was fully approved within three weeks—covering a full roof replacement.
8. Work with Pickering Roofing to Make It Easy
Filing a roofing insurance claim in Canada doesn’t have to be stressful. Pickering Roofing works with Canadian homeowners every day to simplify the process—from inspections and damage reports to working directly with your insurance adjuster. Let us help you protect your home, your family, and your investment with confidence.


 NorthCan Roofing Inc.5.0 (23 reviews)
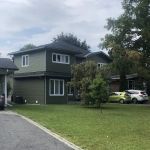 Mr. Roofing & Siding5.0 (7 reviews)
 Concept Roofing Ltd.5.0 (4 reviews)
 Hy-Grade Steel Roofing System5.0 (5 reviews)
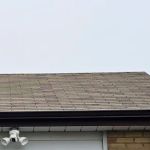 Reliable Roofers4.0 (111 reviews)
 Great North Property Enhancement Specialists0.0 (0 reviews)
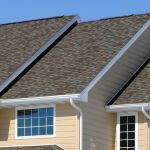 How Much Does a New Roof Cost in 2025? Canadian Roofing Price Guide
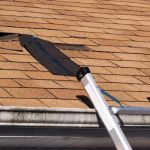 Top Signs Your Roof Has a Leak and What to Do About It in Canada
 Can You Install a New Roof Over an Old One in Canada?
 The Top Questions to Ask Before Hiring a Roofer in Canada
 What Are the Most Common Roofing Scams and How to Avoid Them in Canada
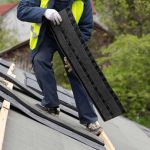 How to Prepare Your Home for a Roofing Project in Canada