Pickering Roofing
Pickering RoofingRoofing InsightsRoofing Companies Near Me
AlbertaBritish ColumbiaManitobaNewfoundland and LabradorNova ScotiaOntarioQuebecQuébecSaskatchewan
Pickering RoofingRoofing Insights

How to Avoid Problems When Installing Roof Windows & Vents

How to Avoid Problems When Installing Roof Windows & Vents

1. Importance of Proper Installation for Roof Windows & Vents

Roof windows and vents play a critical role in your home’s ventilation and lighting system. When installed properly, they improve airflow, reduce the risk of moisture build-up, and provide natural light, all of which can significantly enhance your home’s comfort and energy efficiency. However, improper installation can lead to a range of problems such as leaks, reduced efficiency, and even structural damage.A properly installed roof window allows for more sunlight to enter your home without compromising insulation, while well-placed roof vents promote air circulation, preventing the buildup of humidity or mold. Whether you’re installing roof windows for aesthetic appeal or vents for better airflow, taking the right steps during installation is crucial to avoid future complications.

2. Common Problems When Installing Roof Windows & Vents

Installing roof windows and vents can seem straightforward, but homeowners often encounter a variety of problems during the process. Some of the most common issues include:1. Leaking Roof WindowsImproper sealing during installation is a frequent cause of leaks around roof windows. This can lead to water infiltration, which damages insulation, ceiling structures, and even the interior of the home.2. Inadequate VentilationIf the roof vents are not installed in the right location, or if the wrong size vent is chosen, the result can be poor air circulation. This can lead to excessive heat buildup in the attic, which increases the likelihood of moisture-related issues like mold or rot.3. Incorrect Sizing of Vents or WindowsChoosing windows or vents that are too small or too large for the space can hinder their effectiveness. Small vents may not provide enough airflow, while large ones can lead to excessive heat loss during the winter months.4. Poor Structural IntegrationSome installations fail to properly integrate the window or vent into the existing roof structure, which can affect the roof’s integrity. Over time, poorly integrated installations can cause structural shifts, cracking, and increased susceptibility to leaks.5. Aesthetic IssuesAn improperly installed roof window may not align correctly with the rest of the roof, causing visual inconsistencies. This can affect the overall aesthetic of the home, which is important for homeowners who value curb appeal.

3. How to Avoid Installation Problems

Taking the right precautions and following best practices during the installation of roof windows and vents can help avoid the common issues mentioned above. Here’s how you can prevent installation problems:1. Hire a Professional or Follow Manufacturer GuidelinesWhile some homeowners may attempt DIY installation, roof window and vent installations are best left to experienced professionals. If you choose to handle the installation yourself, make sure to carefully read and follow the manufacturer’s instructions to ensure proper sealing and integration.2. Use High-Quality MaterialsInvest in durable, high-quality materials for your roof windows and vents. Low-quality products are more prone to wear and tear, leading to premature issues like leaks and poor efficiency.3. Correct SizingMeasure your roof’s dimensions carefully before selecting windows or vents. Choosing the right size ensures that your roof is adequately ventilated and that the windows provide enough light without compromising insulation or creating excess heat.4. Proper SealingEnsure that all flashing, seals, and caulking are applied correctly around roof windows and vents. This will help prevent water infiltration and keep your home dry during rainy or snowy weather.5. Optimal PlacementInstall roof vents in locations where they will most effectively promote airflow. Typically, vents should be placed at both high and low points of the roof to create a cross-ventilation system that encourages air movement.6. Structural IntegrityEnsure the structural integrity of your roof is maintained during the installation. This may involve reinforcing the area around the window or vent to ensure it doesn’t affect the roof’s overall strength. Hiring a professional ensures this is handled properly.

4. Choosing the Right Roof Window and Vent for Your Home

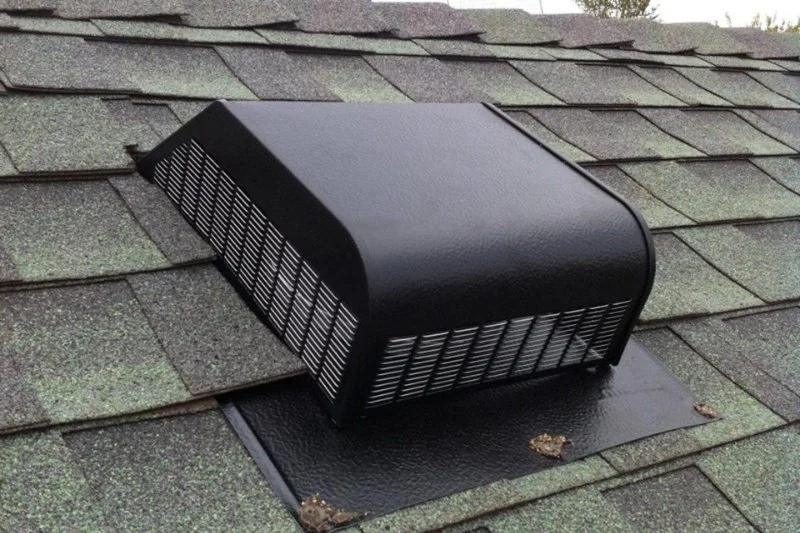
Selecting the right roof window and vent for your home is essential for ensuring proper functionality and aesthetics. Consider the following when making your decision:1. Roof Window TypeThere are several types of roof windows to choose from, including skylights, dormer windows, and traditional roof windows. Skylights are great for maximizing natural light, while dormer windows offer both light and ventilation. Choose based on the function you want to serve and the style of your home.2. Vent TypeWhen selecting a roof vent, consider the type of ventilation needed. Common options include ridge vents, soffit vents, and turbine vents. Each has its advantages depending on the climate and roof design. For example, ridge vents work well for attics, while turbine vents are often used in areas with high humidity.3. MaterialRoof windows and vents come in a variety of materials, including wood, PVC, and metal. Choose a material that suits both your budget and the look you want for your home. Keep in mind that some materials, like PVC, offer better insulation properties, while metal options may be more durable and weather-resistant.4. Energy EfficiencyEnsure the products you choose are energy-efficient. Modern roof windows come with features like double-glazed glass and low-emissivity coatings, which help improve insulation and reduce energy costs.

5. Post-Installation Maintenance Tips
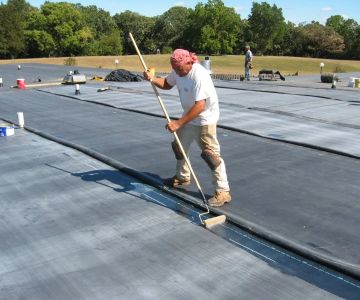
Once your roof windows and vents are installed, regular maintenance is key to ensuring they continue to function properly and last for years. Here’s how to maintain them:1. Inspect Seals and FlashingCheck the seals and flashing around the roof window and vent regularly to ensure they’re still in good condition. Over time, seals can degrade, allowing water to seep in. Reapply caulking or replace seals as needed.2. Clean Vents and WindowsClean your roof windows and vents periodically to remove debris, dirt, and leaves. This prevents blockages and ensures proper airflow through the vents. If your roof window is made of glass, use a non-abrasive cleaner to maintain clarity.3. Monitor AirflowEnsure your roof vents continue to provide adequate ventilation. Check for signs of moisture buildup or mold, which may indicate inadequate airflow.By properly installing and maintaining your roof windows and vents, you’ll enjoy improved lighting, ventilation, and energy efficiency in your home for many years.At Pickering Roofing, we offer a wide range of roof windows, vents, and expert installation services. Our team can help you select the right products and ensure they are installed correctly for optimal performance and longevity.

Popular Blog Posts

Categories

Top Visited Sites

Top Searches

Trending Roofing Insights Posts