
Roof Nail Pops: Why Small Bumps Need a Professional Check
Table of contents
Quick answer
A raised shingle tab, small bump, or exposed fastener may be a roof nail pop. It can create a path for water or damage the shingle above it, especially through Canadian freeze-thaw cycles. Do not climb up or hammer it flat. Photograph the area from stable ground, check indoors for moisture, and have a qualified roofer confirm the cause and repair.
Vancouver Moss Removal / moss removal north vancouver
VancouverMetro VancouverBritish Columbia
1615 Frances St #105, Vancouver, BC V5L 1Z3, Canada
What nail pops look like
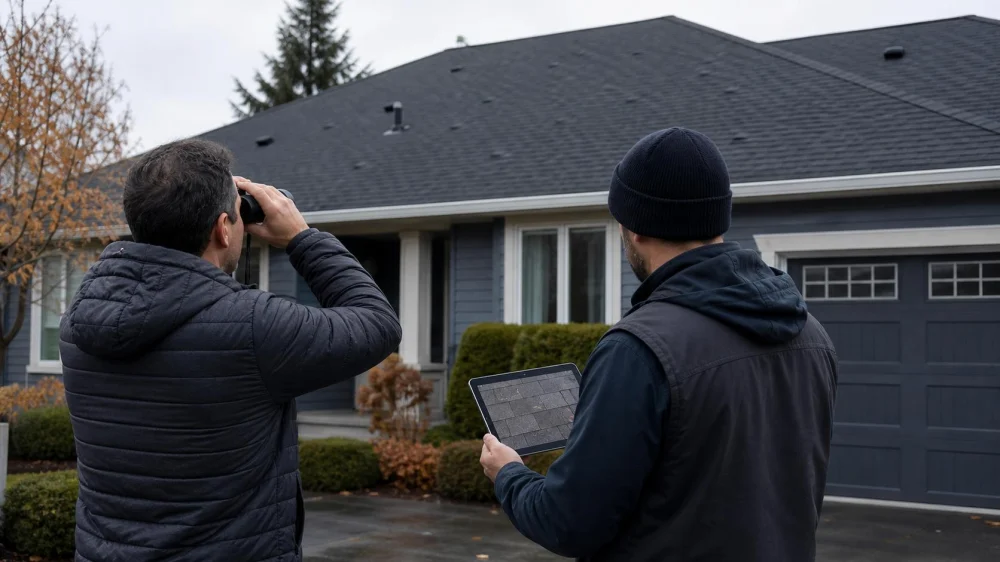
From the ground, a suspected nail pop may appear as a small round bump, a lifted shingle edge, a bright fastener head, or one tab sitting differently from surrounding shingles. Similar shapes can come from debris, blistering, buckled underlayment, deck movement, or impact damage, so appearance alone is not a diagnosis. Binoculars or a zoomed photograph can help document the location without unsafe access.
Why they happen
Fasteners can move when roof decking and framing expand or contract, when a nail did not fully engage sound decking, or when installation depth and placement were incorrect. Repeated heating, cooling, moisture changes, wind loading, and winter freeze-thaw conditions can reveal or worsen movement over time. The correct repair depends on the shingle condition, fastener position, decking, ventilation, and whether the issue is isolated or part of a larger pattern.
Safe homeowner checks
- Observe from firm, dry ground with binoculars or a camera zoom.
- Mark the location by roof slope and nearby features such as a vent or chimney.
- Check ceilings and safely accessible attic areas for stains, dampness, or daylight.
- Record recent wind, hail, rapid temperature changes, and roof work.
- Compare current photographs with earlier listing, inspection, or maintenance photos.
- Keep people away from any interior area with sagging drywall or active dripping.
Why not to hammer them down
Driving a visible nail through the shingle surface can split the shingle, leave an exposed penetration, miss damaged decking, and affect a product or workmanship warranty. Roofing repairs often require lifting or replacing the affected shingle, securing an approved fastener in the correct location, sealing according to the roofing system instructions, and checking nearby fasteners. That work requires fall protection and product-specific judgment.
When to call a roofer
Arrange an inspection when a bump is new, growing, repeated across a slope, associated with lifted or torn shingles, or accompanied by staining or leakage. Seek urgent help if water is near electrical fixtures, a ceiling is bulging, shingles are loose after severe weather, or there are signs of structural movement. Ask the contractor to document the cause, affected area, decking condition, repair method, and whether broader fastening or ventilation issues are present.
Inspection checklist
Prepare ground-level photos, the roof slope and feature reference, first-seen date, roof age, shingle brand if known, installer and warranty documents, recent weather, interior observations, previous inspection reports, and a list of any other raised or loose areas. This gives the roofer a clearer starting point and helps preserve a timeline for warranty or insurance questions.
Limits and safety notes
This article provides general Canadian homeowner guidance and cannot identify a fastener or determine structural condition remotely. Never walk on a steep, wet, icy, snow-covered, brittle, or damaged roof. Do not enter an attic with unsafe access, exposed wiring, mould, or uncertain structural support. Local codes, manufacturer instructions, warranty terms, and a qualified on-site assessment take priority.
Evidence notes
A useful assessment connects the visible bump to roof age, installation details, decking condition, weather exposure, nearby water entry, and the pattern across the slope. Product installation instructions and warranty documents are the primary references for fastener placement and repair requirements. Dated photographs and written contractor findings are stronger evidence than an unverified visual guess.
Frequently asked questions
Is every roof bump a nail pop?
No. Debris, shingle blisters, deck movement, wrinkles, and impact can look similar from a distance.
Can one nail pop cause a leak?
It can create or contribute to a water path, but the surrounding roof system and location determine the actual risk.
Should roofing cement be placed over it?
Do not apply a surface patch without identifying the cause and checking the product instructions. An improvised patch can hide damage or fail.
Does a nail pop mean the whole roof needs replacement?
Not necessarily. An isolated repair may be possible, while repeated movement can justify a broader inspection of fastening, decking, and roof condition.
Can cold weather make it worse?
Temperature and moisture movement can affect roof materials, but an on-site inspection is needed to determine the cause.
Next steps
Take clear ground-level photos, note the location and first-seen date, check safe interior areas for moisture, and gather roof and warranty records. Contact a qualified roofer if the bump persists, shingles are lifted, several areas are affected, or any leak sign appears. Keep the written findings with your maintenance records.


 M&M Roofing & Exteriors4.0 (33 reviews)
 Teddy's Roofing Pros0.0 (0 reviews)
 Thunderstorm Roofing5.0 (7 reviews)
 Lyons Pro Roofing inc5.0 (102 reviews)
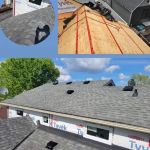 Ace 1 Quality Roofing | Siding, Eavestroughs, Roofing Hamilton0.0 (0 reviews)
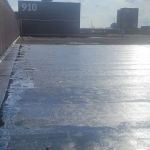 Avalanche Roofing LTD.0.0 (0 reviews)
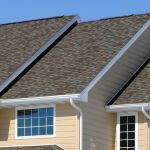 How Much Does a New Roof Cost in 2025? Canadian Roofing Price Guide
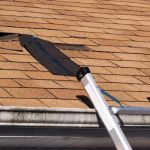 Top Signs Your Roof Has a Leak and What to Do About It in Canada
 Can You Install a New Roof Over an Old One in Canada?
 The Top Questions to Ask Before Hiring a Roofer in Canada
 What Are the Most Common Roofing Scams and How to Avoid Them in Canada
 How to Prepare Your Home for a Roofing Project in Canada